The latest ARI version comes with exciting changes to the Vehicle Inspection Feature. With the added functionality, you can illustrate your inspection checklists so clients have enough context about the issues with their vehicles.
Get the latest software version with the help of this guide.
Let’s break down each of the significant changes.
Possibility to Add Pictures for Each Checklist Item
Vehicle Inspections in ARI now allow you to add a picture for each checklist item on a vehicle you are servicing. This is crucial for clients who require more information about their car’s condition and your intended services. There’s a separate column for the pictures where you can add them. You can add a picture from your gallery or camera.
The images are later visible both on the inspection preview and the online form you share with clients. You add pictures to a checklist category too. If you want to delete a picture – simply click on it and select ‘OK‘ once you see the deletion pop-up.
*Visual feature guide
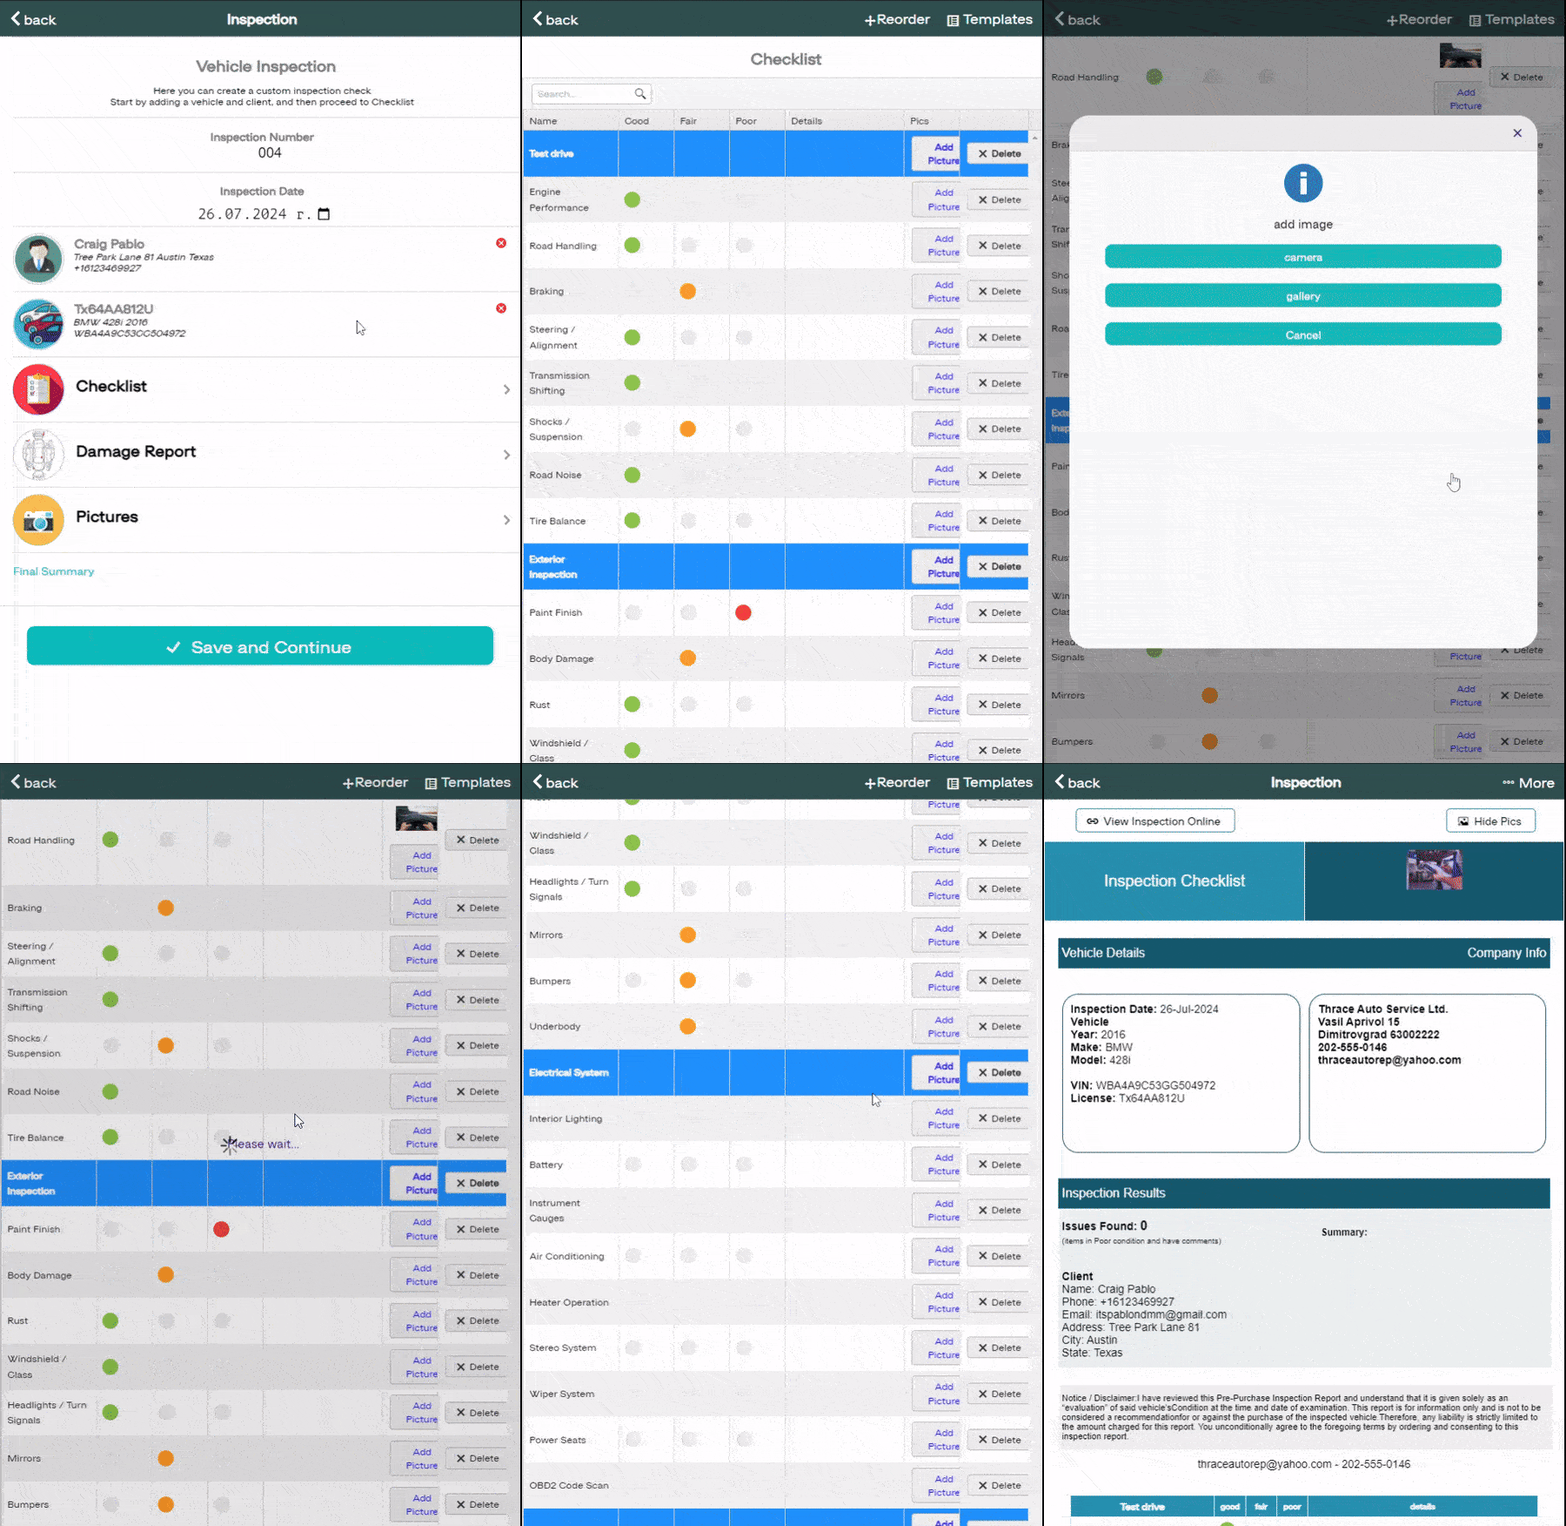
When clicked – the checklist item images will open in a new tab. You can zoom in later by pinching the page and seeing the picture in greater detail.
An Option to Show and Hide the Pictures
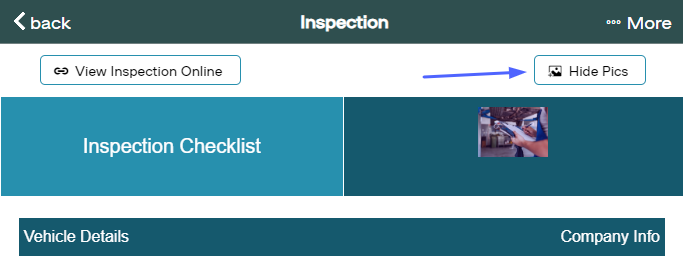
The main inspection template now has a button that allows you to show or hide the pictures from the checklist items, vehicle, and damage reports. It allows for a cleaner printing of the whole checklist when needed.
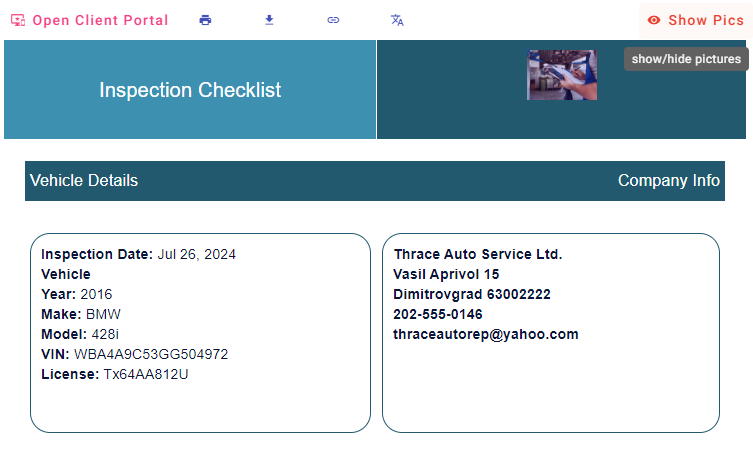
The same show/ hide function is also present in the online inspection. On click each checklist picture is opened in a new tab. The client can interact with the online inspection and open it in the client portal.
What do you think about the new feature changes? Are we on the right track of introducing the most-requested features to date? Please share your thoughts below.
