The many benefits of sending professional business emails to your clients!
The latest ARI(Auto Repair Software) update brings enhanced customization options to improve the communication between you and your clients. Now the Invoicing, Inspection, Service Reminder and Appointment Confirmation email templates are editable within the app. You can swiftly change the default company logo so yours shows on top! Moreover, you can edit the disclaimers, headings, text fields, fonts, colors, and shortcodes to display additional company information from your ARI profile! Use the feature wisely to create the best possible experience for your customers.
Super convenient for your clients
Build an impactful message that will resonate with your clients. You are no longer restricted to the default email template and can add unique flavor and content to each message you send. You can include additional Client, Vehicle, and Invoicing data in your email templates according to your needs. Get feedback on what’s important to your customer and include it in the Service Reminder or Vehicle Inspection message.
What’s more – you can use our services, and we will help with content creation and generating the best template we can offer.
The importance of looking professional
Now more than ever, it’s become crucial to distinguish yourself from other businesses to gain credibility and trust. One effective way of doing this is by improving the look of your email templates. Your customers will benefit if the information on their Invoices and Inspections is more accessible and relevant to them. And the most significant upside is that it’s as simple as ABC.
How to customize your email templates
You have one of the following options when customizing email templates.
- Editing the Invoice/ Estimate template
- Editing the Vehicle Inspections template
- Editing the Service Reminder Template
- Editing the Appointment Confirmation template
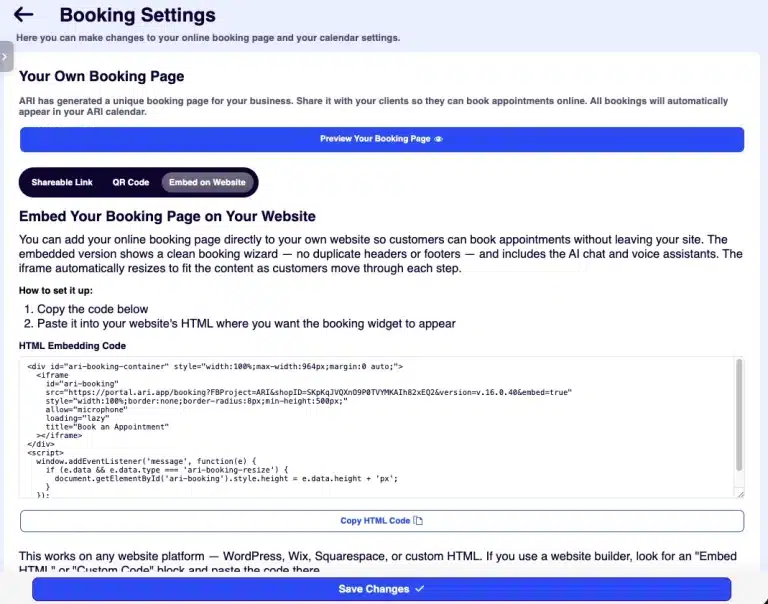
Let’s start with a simple example. Open an existing Invoice and click the “Share/ Send/ Download” button. Select “Send via email” to preview your template. Then choose “Customize” in the top left corner. Open the Invoice template and start making the required changes. You could reset to the default template if you don’t like your progress. Once ready – click “Save Template” and return to the previous page to start sending to clients!
Try changing the info displayed on the templates by selecting a different shortcode from the menu. Here is a list of shortcodes you can use:
Client Info
- ${client.Name}
- ${client.Address}
- ${client.Phone}
- ${client.email}
- ${client.City}
- ${client.State}
- ${client.ZIP}
- ${client.CompanyName}
Vehicle Info
- ${vehicle.type}
- ${vehicle.vin}
- ${vehicle.regNum}
- ${vehicle.make}
- ${vehicle.model}
- ${vehicle.year}
- ${vehicle.milage}
Invoice Info
- ${selectedItem.Status}
- ${selectedItem.TypeOfForm}
- ${selectedItem.Date}
- ${selectedItem.BalanceDue}
This article is a continuation of the topic of Professional Client Email Templates. Have a look at it if you are just getting started with creating your first email. If you have any comments or suggestions about the feature – please share them in the comments below! We would appreciate it a lot.