Every auto mechanic benefits from having access to quality Auto Repair Labor Guides and Car Repair Estimates.
You know the drill: getting the right wrench time for a job is your go-to, and making sure the labor tab’s on the level? That’s just good garage ethics. ARI(Auto Repair Software) fully integrates with Mitchell1 Pro Demand, letting you employ multiple tools to promote customer transparency and trust, streamline billing processes, and enhance your auto repair business’s reputation.
On this page, you will learn how to use everything labor-related in our auto repair software.

Before you use parts and labor information, pull wiring diagrams, or conduct any advanced operations – you need to choose a vehicle from the database. If you add a vehicle outside the database, the necessary info won’t show up. Here are the steps to find yours and get started:
					Main Menu -> Vehicles -> New Vehicle ->
Open Vehicle Selector
This brings you to a window where you need to specify :
Once you fill in the information, save the vehicle record in your account
*under the Vehicles menu. This ensures you have access to the labor guides, labor estimates, and all relevant car info while working on it.
Use this menu for a quick access to Parts, Labor, Maintenance manuals and Fluids.
Parts and labor are the two cornerstone elements of your job. As an experienced mechanic, you know some standard details about a car’s make and model. Still, often – you need to get into the nitty-gritty to complete your job and determine fair labor rates. Our software helps you pull any actual information about the standard repair procedure anytime you work on a vehicle.
After selecting a vehicle and creating a job card – it’s time to see what goes into completing a repair job and the relevant labor times. Do the following to add a labor item on a Job Card:
					Open an Invoice/ Job Card ->
Select M1 Parts& Labor Guides ->
Search for a repair procedure or choose one ->
Transfer the Labor item to the Job Card
The search bar on the left contains labor items with a breakdown of the standard vehicle sections on the car you are servicing. You can add or remove labor items depending on the job and inform yourself about the duration and skill level. Once you transfer the info back – it will show up as part of your invoice as labor.
If you want to add missing or damaged parts – you must follow the same steps as adding labor. To make the process quicker – you can toggle the search bar to look up part numbers. Each of them is displayed next to an item’s description.
It’s handy to use the sidebar to your advantage. Starting with a vehicle section – you can navigate down to a specific system, parts, and car components. The most common you will see are: Engine Mechanical, Engine Performance, Suspension, Transmission, Accessories and Equipment, Body and Frame, Others*
Every mechanic knows, after enough miles or time, every car needs a check-up. It’s just how it goes. With our auto repair software – you can see every car part that needs inspection, replacement, or another intervention.
The maintenance section is next to the “Parts&Labor” tab and is divided into two sections:
In the mileage breakdown labor guide, you will see what repair and maintenance you should perform depending on a car’s current miles. The same goes for the time section, with the most common repair manual being mandatory maintenance every 12 months(a year).
In any car, fluids are the backbone of top-notch performance and machine longevity. Fluid capacity, type, and volume vary from vehicle to vehicle and need to be maintained for the long-term health of the ride.
To access the car fluids panel in the app – do the following:
					Open an Invoice/ Job Card ->
Select M1 Parts& Labor Guides ->
Go to Fluids ->
Select what you need ->
Click Transfer
You will get a much more detailed breakdown in the auto repair software, but summarized below – you will see how much and what type of fluid is used during a change or a vehicle repair.
| Car Fluid | Approximate Amount (Litres) |
|---|---|
| Engine Oil | 4 to 6 |
| Coolant/Antifreeze | 6 to 12 |
| Brake Fluid | 0.5 to 2 |
| Transmission Fluid | 4 to 10 |
| Power Steering Fluid | 0.5 to 2 |
| Windshield Washer Fluid | 3 to 5 |
| Air Conditioning Refrigerant | 0.5 to 1.5 (in kg, not liters) |
| Differential Fluid | 0.5 to 3 |
| Transfer Case Fluid | 1 to 2 |
| Radiator Fluid (same as Coolant/Antifreeze) | 6 to 12 |
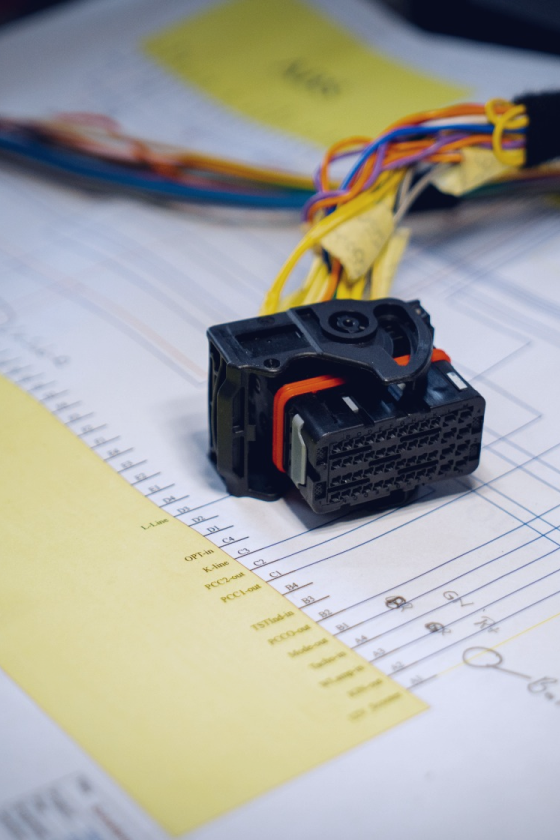
You use wiring diagrams much like a GPS for tracing electrical routes. They lay out the game plan for how juice flows in a system.
This is what you will typically see on a wiring diagram when opening it in the app:
Here’s how to access them in ARI.
					Open an Invoice/ Job Card ->
Click ProDemand Application ->
Choose Wiring Diagrams after the menu shows up
* This, however, won’t transfer the info back to your Invoice/ Job card, and you have to view the auto repair manual in a separate window!
When working on a vehicle, knowing your component locations saves time and headaches. Component locations commonly include the following:
This menu provides extra details needed to complete a repair job. It includes
Wiring Diagrams, Service Manuals, Technical Bulletins, Common Specs, and more!


Aside from everything in the menu, there’s a handy analysis/ breakdown of the commonly replaced vehicle parts, DTCs(diagnostic trouble codes), and real-life causes of those issues.
Modules are related to the labor guides data and present a list, compiled of queries that relate to the car you are working on.
If you expand the options there -you will see graphs indicating what might be causing an engine or a coil to break.
Surprisingly, there’s more to the labor guides menu than you can imagine. You might find this valuable when stuck on a repair.
*A third-party app (ProDemand) provides all labor estimate data. ARI does not own or manage this data.’
24/7 Customer Support
Contact us via email at contact@ari.app, and we will reply promptly.
ARI Video Guides
ARI's official video library with all of the guides you need
ARI (Auto Repair Software) © 2026 | by uMob.ltd
800 N King Street
Suite 304 -1249
Wilmington, DE 19801
The Capterra logo is a service mark of Gartner, Inc. and/or its affiliates and is used herein with permission. All rights reserved.
Add clients, vehicles & all the details that are relevant to them
Create detailed inspections with checklists, damage reports
Manage your parts, tires, business assets, and all other important items.
Track labor progress, start & stop work clocks, approve & deny services.
Create professional quotes for your auto repair clients
Generate professional invoices for your auto shop’s clients
Generate damage reports & attach pictures to your auto inspections
Let your clients book your services online from the comfort of their home
Earn return customers by reminding them when service is due
Create purchase orders, track your expenses, and monitor your profits
Read Engine Error Codes with ARI monitor car’s parameters live
Reports for your business performance & export the data
Never miss a payment keep an eye on your invoice billing process
Reach your core customers & market business across different channels
Manage vendors, partners & orders for a streamlined repair experience
Monitor and label the activity of multiple employees
Receive payments on your Online Invoices with the world’s most renowned payment networks
Order parts easily with PartsTech and ARI! Smooth and reliable parts procurement process.
Every mechanic benefits from quality Repair Guides and Car Repair Estimates.
Get Service History Instantly. Decode VINs and Plates with Accurate Data from a Leading Supplier.
Get Diagnostic & Maintenance Info. Access Diagnosis, Solutions, and Problem Predictions.
Sync ARI invoices to QuickBooks Online. Manage customers and inventory.
Get detailed labor guides, labor times, and estimates from the world's first AI labor guides system.
Process In-Person Payments On The Spot. Geared towards auto repair businesses.
ARI has partnered with Wisetack to offer your clients extra payment options for auto repair services.
You can access ARI on all major digital platforms.
A complete guide to setting up and running your auto repair business
ARI’s client portal lets clients easily stay informed when they visit you
How to add multiple users to your ARI Profile
You must ensure you keep your app updated all the time
ARI offers features and settings tailored for auto repair services
Welcome to ARI's blog for updates, articles, and guides
Here are our most notable achievements over the years.
Get the most out of your client management with our online documents
Test the features and see if it’s the right fit for you
Welcome To ARI's Official Video Library
Earn rewards and ARI credits by referring our app to friends