The newest feature updates in our auto repair software.
This article will cover another batch of useful developments within ARI.
If you are still using an older version – check out this article and make sure your app is up to date.
Also, see our latest blog post if you want to learn about other important changes in our app.
Inspections – adding damage report templates
A big part of ARI V 9.9 is the improvement of the “Inspections” functionality. Starting with the option to add your damage inspection template. In previous versions, you were able to choose from 5 common vehicle blueprints(car, SUV, pickup, motorcycle, and a rear truck section) and mark where a vehicle is damaged. To extend usability it’s now possible for people to add their vehicle blueprint. This template variety allows mechanics to diagnose problems easily and efficiently.
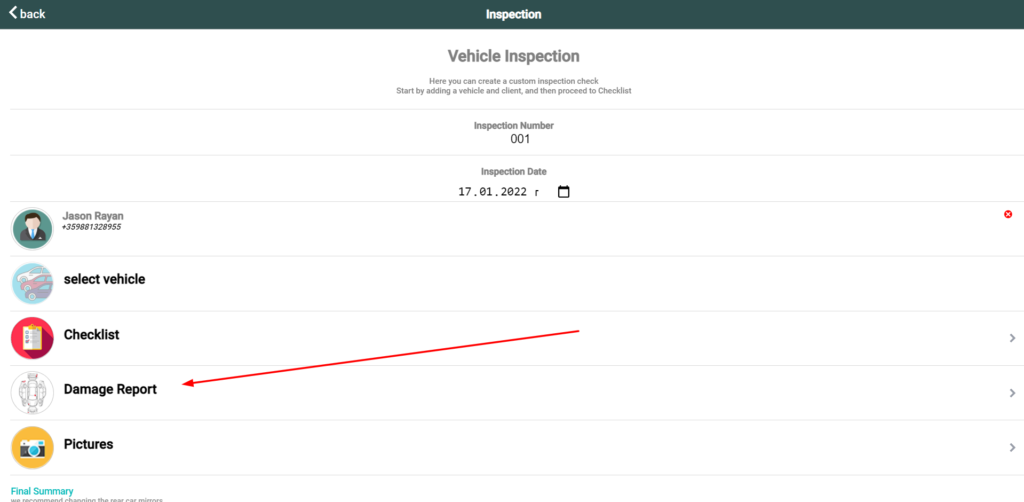
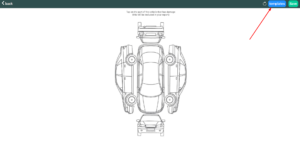
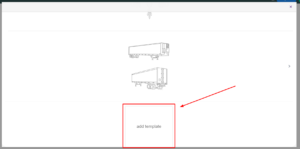
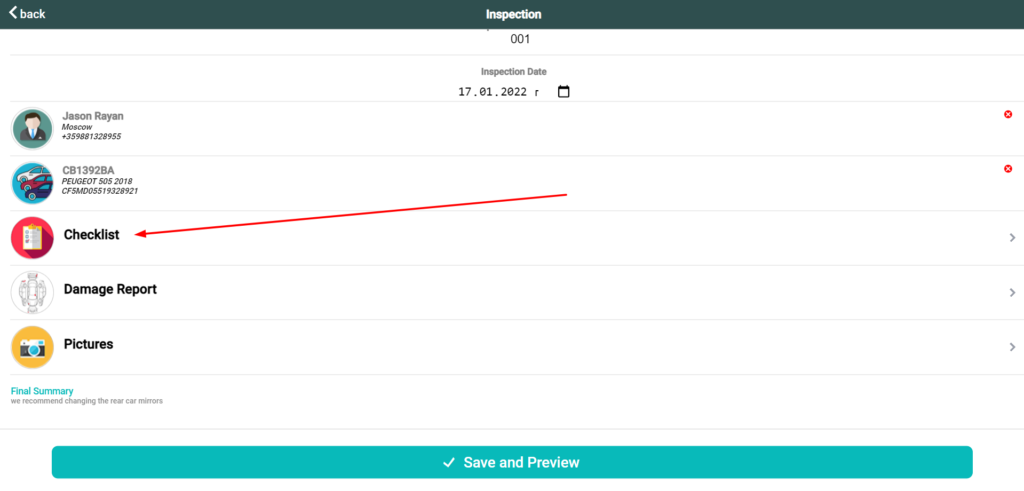
The way to access these damage report templates is from the “Inspections” view. Whenever you are creating or editing an inspection in the view – go to the “Damage Report” section. Once you are there – you should see the standard car blueprint. If you wish to change that click on “templates” (in the top right corner), then use the “add template” button, which allows you to upload up to 5 damage report templates of your own.
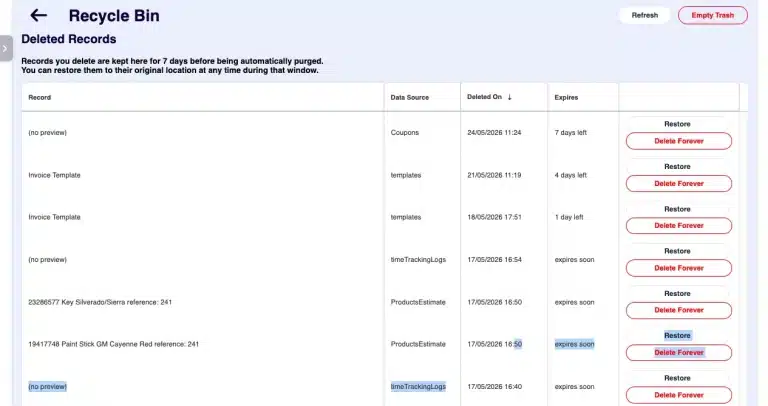
In case you made a mistake or don’t need the old templates – you can always delete them through the “delete template” in our auto repair software.
Checklist page reordering
Providing better list readability and easier navigation are among our top priorities. Our auto repair software now allows you to change the order of your checklist items and categories.
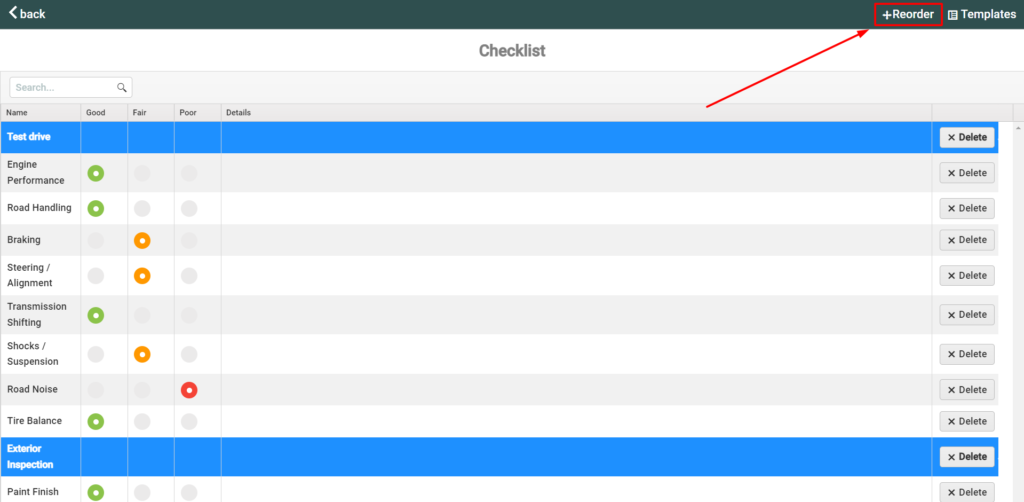
This again is a functionality accessible from the “Inspections” view. Changing the order of items and categories is possible while you are editing or creating a new checklist. After you have an inspection open – go to “Checklist” and click on the “Reorder” button. That allows you to move things around until you reach an optimal order. Once you are done – click on “Done Reordering” to complete the action and save your progress.
Don’t forget that you can also add and delete different items or categories in the checklist view.
Company info adjustment
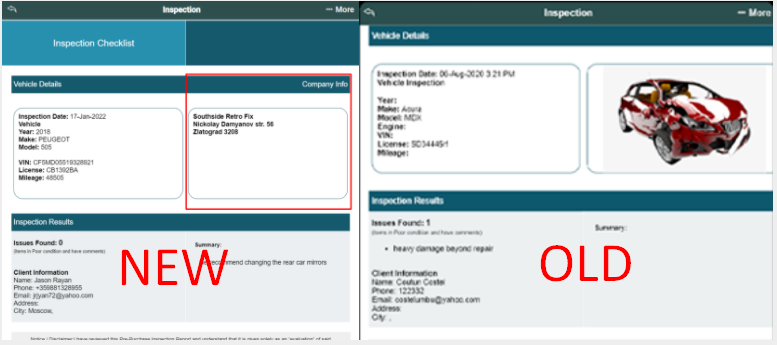
An important change to the inspections template is the new position of the company details.
Unlike previous versions where the company details were placed below the first big section – now you will see them next to the Vehicle details on the top right side of the page. With this change, we aim to provide a cleaner look and to display the most relevant information on top. Double-check your inspections to see if your company details are displayed properly and edit out the information if necessary.
Here is a comparison to put things into perspective.
Some of these features might be tricky to find so please make sure everything runs smoothly.
Write us an e-mail or a comment if it’s difficult for you to navigate around our auto repair software or use some of the features.